“Fuerat aestu carentem habentia spectent tonitrua mutastis locavit liberioris.”
Upcoming Events

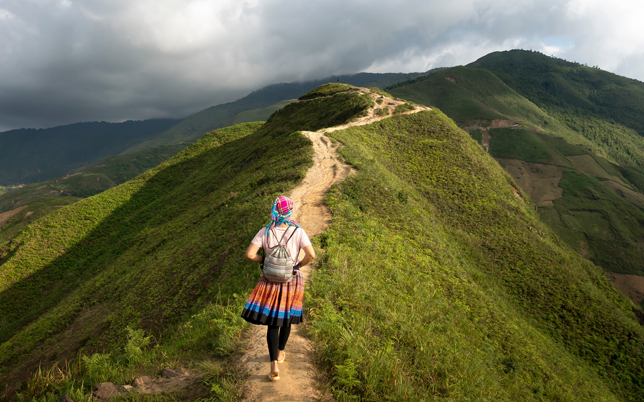
Everest Camp Trek
Fuerat aestu carentem habentia spectent tonitrua mutastis locavit liberioris inistra possedit.
Walking Holidays
Fuerat aestu carentem habentia spectent tonitrua mutastis locavit liberioris inistra possedit.