I had a leak in my printer using a tube a made myself for my qu-bd printer head and I wanted to see if I could rework it. The was some eccentricity present between the 45 degree chamfer and the drilled hole. (They where done in machined in seperate setups.) I think I should have been more careful deburring and a few other causes.
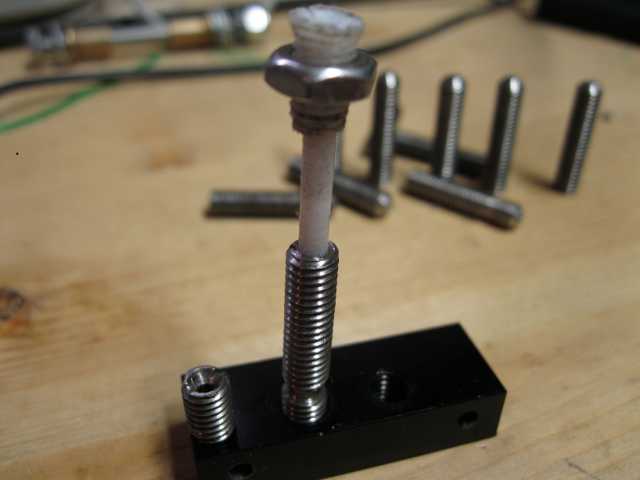
I had a few threaded hole fixtures to locate in my 5C collet. I noticed that some had had more play than other s so I selected the one with tightest fitted I mounted the setup in my lathe and stuck a gauge pin in the hole. I measured about .010″ run out. I also indicated the threaded od of the stainless steel tube and it measured run out at about .005″ which all thinks considered isn’t too bad.. (I wonder how concentric the thread od is to the OD of the threaded rod, I don’t have a direct easy way to measure that.)
So I to a single point skin cut on the nose of the tube as well as a light cut on the nose. I then proceeded to polish any burr’s out (which is what I think did me in last time) I was hoping that the
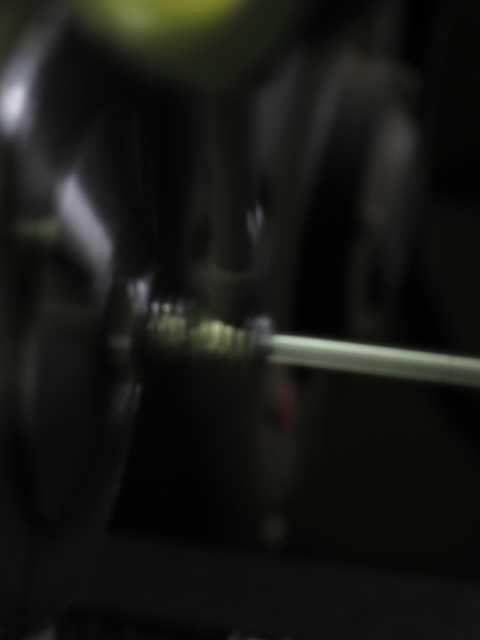
Gauge pin in the tube for indicating
recut would have taken the runout out of 45 degree angle make the hole look a little more on center but no such luck.. I’m thinking the runout is in opposite directions.
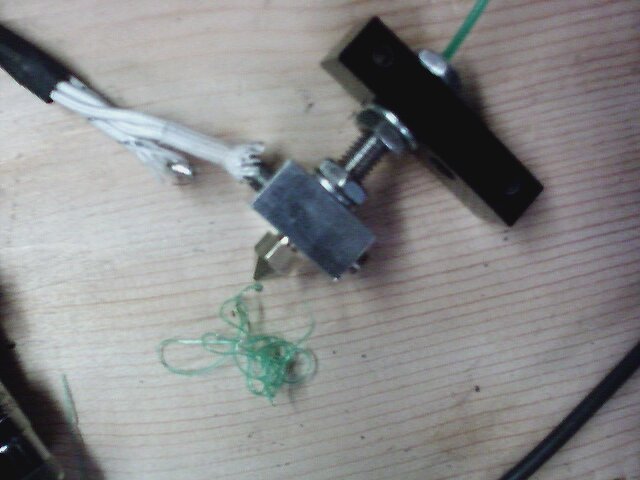
I bought some new nozzles from qu-bd as spares and I wanted to see what the contact looked like using my tube.
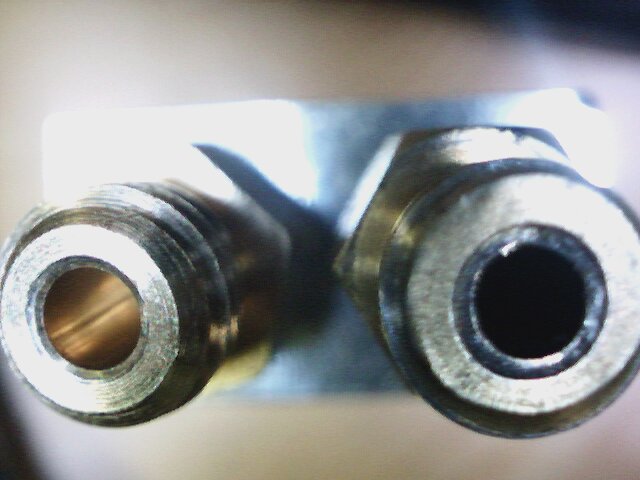
To my amazement it looks like I wasn’t getting contact on the face anymore but it look like it was occuring on the chamfer. It appears that qu-db has modified their original kickstarter design and increased the bore size in their nozzle. The original
nozzle took a maximum .088 gauge pin while the .093. This isn’t much, but it got me locating on the chamfer instead of the endface with I think in theory should provide an better seal. So I’m shelving the original nozzles for now.
I but lockwashers on the tube on the hot and lower sections. I was going to put it on the PTFE liner as well but it seems like it wasn’t going to work so I just tighten the nut without a lock washer.
I wanted to show was the difference in wall thickness when going from 3/32 (the current mod using Mcmaster stock PTFE tubing) and 1/8 machining my own… I think its pretty substantial. I calculated the wall thickness of the thin tube.. I forget exactly what is was .015 or .018 thousand. Its just not enough IMHO.
I pushed a little plastic through the tube.. I seems like it hit a couple of rough spots starting out, but once it started flowing it seem like it was going ok… Hopefully I can meet and exceed the initial success I had with the initial PFTE liner before the nozzle clog, and then cracking the tube..
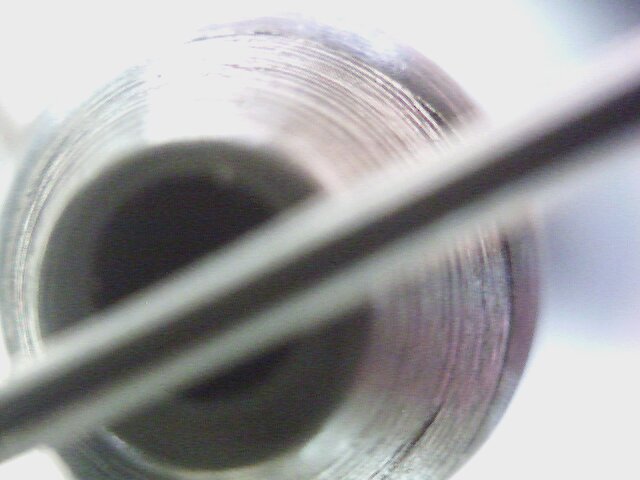
New tube noze with .029 gauge pin as reference

side by side of the new tube and old cracked tube

Polished bore of tube I made myself
Initial Test Extrusion
Side By side Nozzle. Old small bore nozzle on right.. New Bigger bore on left..
New PTFE liner I machined.