Here are steps on how run the zedcode wxwidget tutorials in Code::Blocks without using a wizard.
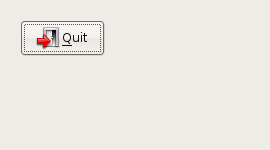
In this instance, I want to get the tutorial titled “A simple button” working.
Step 1) Start the Code::block IDE
Step 2) Select File=>New=>Project
Step 3) Click on the “Empty Project” icon and click next a couple of times till you are asked for a project file name.
(Note! one of the things that confused me initially was that when you enter a “project title” the file name and directory are also automatically created using the same name. It took a little time for me to get used to that)
Step 4) Use Shift+Ctrl+N to add blank files. I named the file and the pasted the info from the web site.
If you attempt to Build=>Build at this point, chances are that it will error out.
Step 5) At this point, you need to add wx-config to the project so you the compiler and linker know where to go to get the wxwidget object.
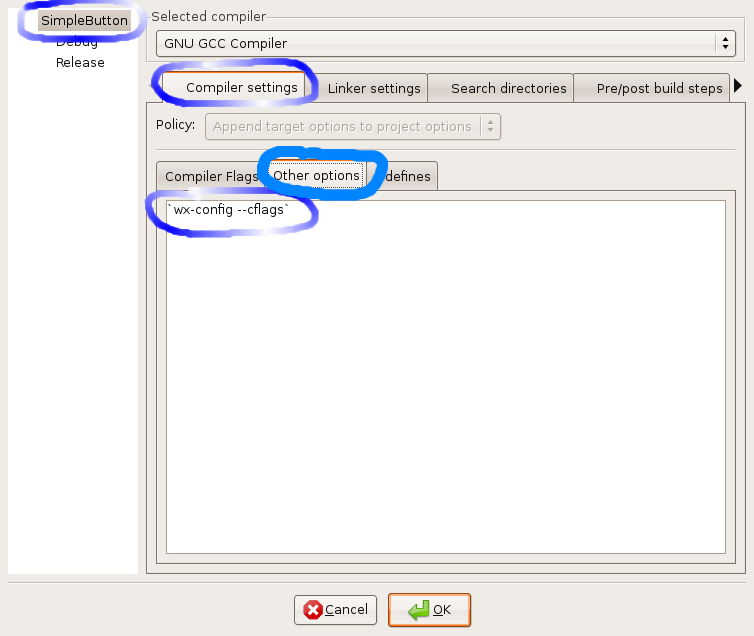
Set 5.1) Select Project=>Build Options
Set 5.2) Enter the compiler option: wx-config --cflags
(Not the back quote and double “–“)
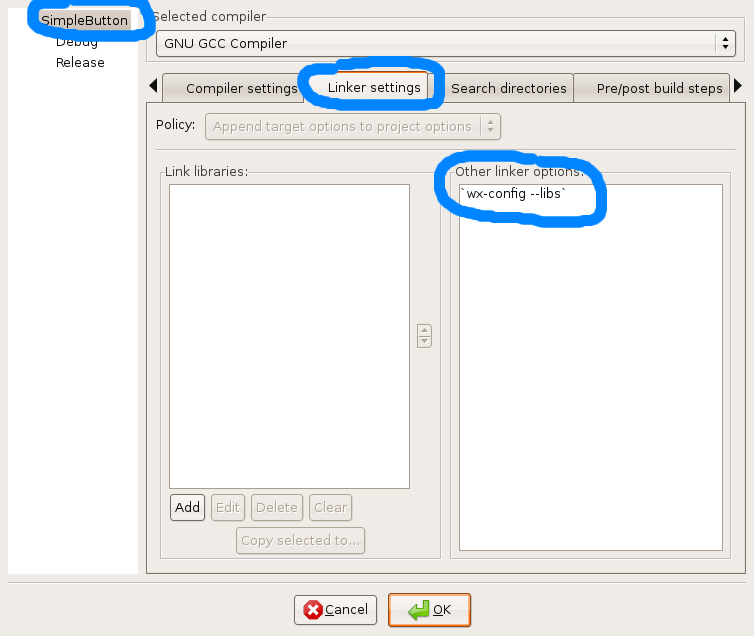
Step 5.3) Enter the Linker option: wx-config --libs
Step 6) Build and run. If everything went correctly, you should have something that looks like this: